What this tutorial covers
By the end, you’ll have a fully functional demo application that:- Let’s you upload ID documents such as a passport and a driver’s license
- Sends the document to GBG Go APIs for verification
- Verifies documents
Prerequisites
- For business users: Access to the Go dashboard for adding the documents modules to the journey.
- For developers:
- Node.js v18 or higher installed on your local machine.
- Next.js v16 installed on your local machine.
- A working knowledge of JavaScript (Node.js) or Python.
- GBG Go API credentials. For more details on required API credentials, refer to API-first integration quickstart.
Get started
To get started with this tutorial:- Add the documents modules to the journey, as shown in the image below:
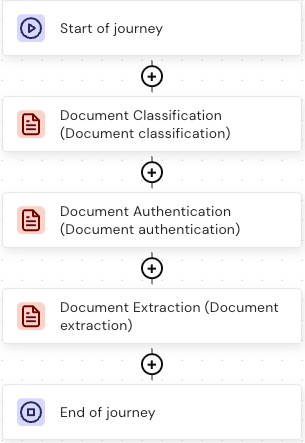
- Click Publish to Preview.
Modules come with default outcomes, which is used in this tutorial. You can configure different outcomes for each module. To learn more about configuring outcomes, refer to How to configure module outcomes in Go.
- Navigate to Dashboard in the journey builder to get your resource ID and version for integrating the journey with the API and app.
Set up the development environment for integration
This section provides steps on how to set up your developer environment for this tutorial. Follow the steps below to set up environment:Step 1: Create a new folder for your project
Open your terminal or command prompt and run:BASH
This command works for both Windows, Mac, and Linux systems.
BASH
Step 2: Initialise the Next.js project
To initialise a Next.js project, run the command below in your terminal:BASH
BASH
.env.local file in your root directory to store the environment variables for your API credentials and base URL:
variables
Replace the placeholder values with your actual GBG Go API client credentials and journey details. You create API clients in the Account management portal. For more information, see Manage API clients.
Set up API routes for backend code
Next.js API routes run on the server, acting as a secure proxy between your frontend and GBG Go API. In this section, you’ll create routes to handle various logic for your backend app.Create authentication route
This route handles the API authentication logic for your app. To get started, go to your terminal and create a new folder and file using the command:BASH
auth folder called route.ts and paste in the code below:
typecript
- Exchanges your API client credentials for a temporary access token.
- Uses the OAuth2 client credentials grant flow, which is standard for service-to-service API authentication.
- Returns the token to the frontend for subsequent requests.
- Handles errors with detailed messages.
Create upload and start journey route
In this section, you’ll create the upload and start the journey route. This handles the logic for starting the journey. To get started, go to your terminal and create a new folder and file using the command:BASH
upload folder called route.ts and paste in the code below:
typescript
- File Processing: Converts the uploaded file to base64 encoding.
-
Prefill Context: Includes the document directly in the journey start request under
context.subject.documents[]. - Instance ID: Returns a unique identifier to track this verification session.
Create check status route
In this section, you’ll create a check status route that contains the logic for checking if verification is complete. To get started, go to your terminal and create a new folder and file using the command:BASH
status folder called route.ts and paste in the code below:
typescript
- Polls the journey state to check if verification is complete.
-
Returns the current status, for example,
InProgressorcomplete. - Includes extracted data once processing is finished.
Build the frontend
Now, you’ll build the user interface that ties everything together. To get started, navigate toapp/page.tsx and replace all the content with the code below:
typescript
BASH
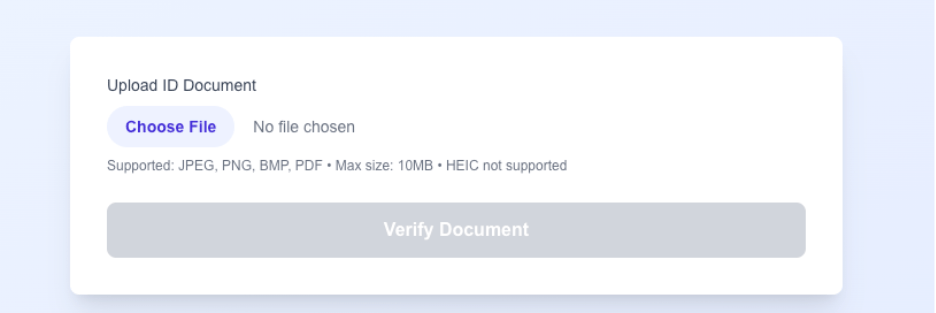
localhost:3000, you should see the application running.
This is what it should look like:
Test your demo app
To test your demo app:- Navigate to
localhost:3000. - Click Choose File to upload a document, for example, a passport.
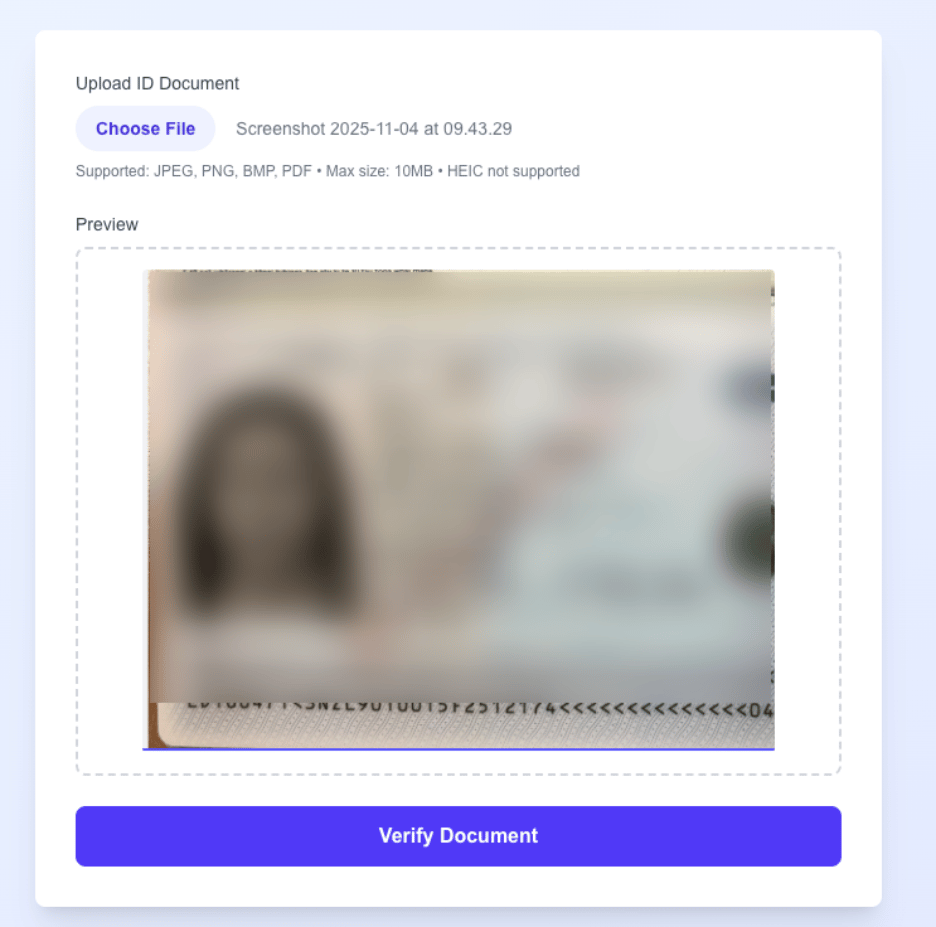
- Click Verify Document. The verification process starts running. What happens is that the journey starts, and the document modules begin verifying the document in the background.
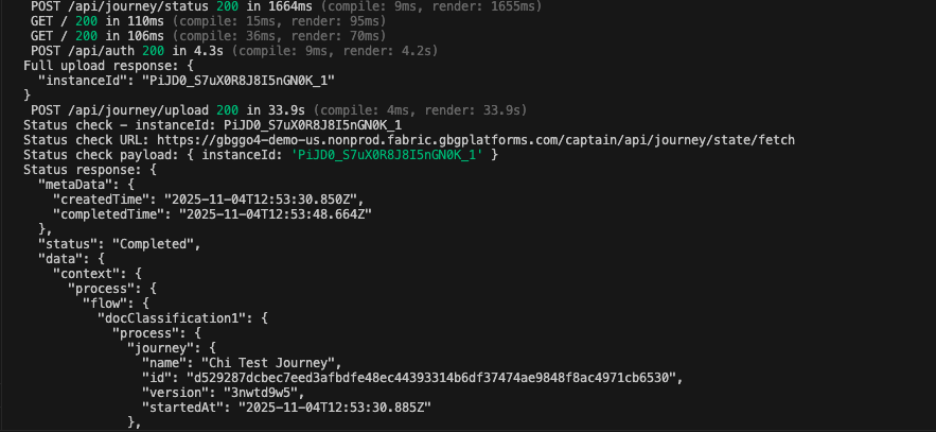
FirstName, LastName, and BirthDate.
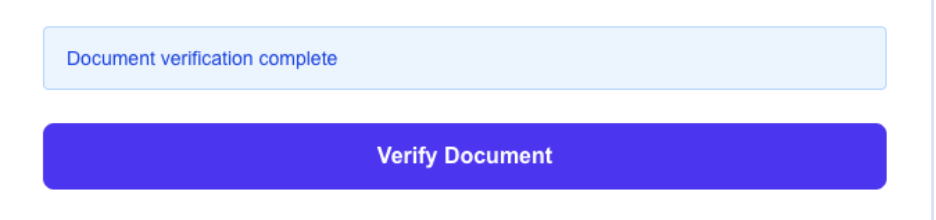
After verification is complete, you should see the “Document verification complete” response in the demo app as shown below:
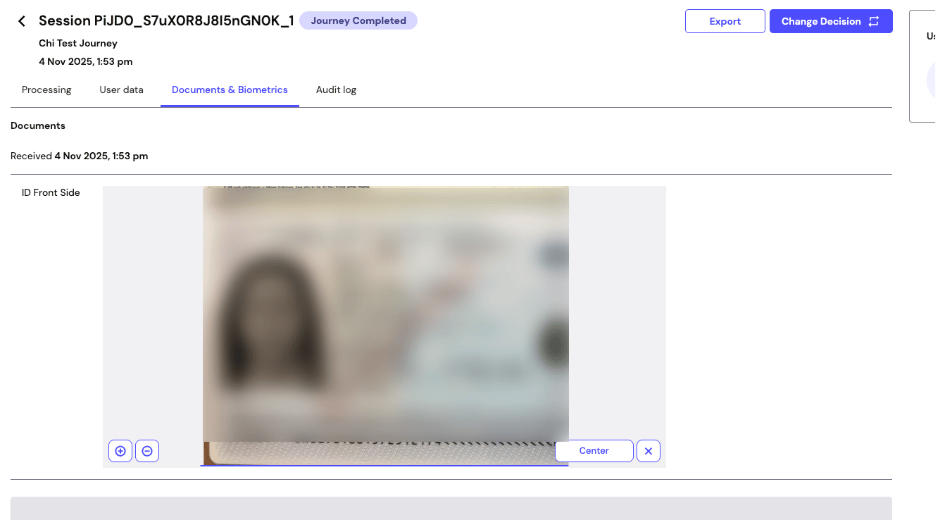
PiJDO... matches the instancedID generated in the terminal.
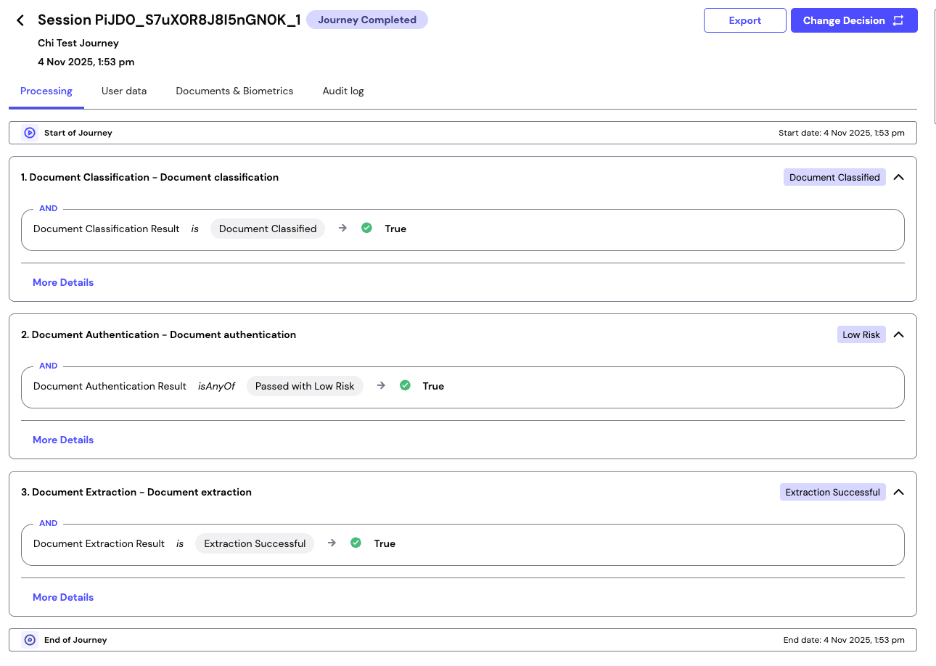
Click the Processing tab to see module outcomes.